
Wuthering Waves: A Story Guide to Among the Shoals and Islands
Wuthering Waves' Among the Shoals and Islands quest guide: solve the Altar of Radiance, pillars, and Chronosorter with this step-by-step walkthrough.
The sun hung low over Mt. Firmament, painting the scattered islands in shades of gold and shadow. For many travelers in Wuthering Waves, the Among the Shoals and Islands quest is a beautiful but stubborn puzzle—a real head-scratcher that has tested patience since its release and still trips up newcomers in 2026. Yet every challenge has a story, and this one begins with a woman named Shicheng, the soul rescued from wolves during the Mirrored Loong's Pearl quest. Grateful and determined, she sends the wanderer to a new ritual site south of Xuanji Ridge, where ancient light and broken ruins wait.

The journey starts on the southern island, where the Altar of Radiance sits like a sleeping guardian. Once lit, it must be rotated exactly once, and its beam—a curious finger of light—stretches out to connect with a pillar on the left. From there, the wanderer follows the beam, rotating the next pillar twice to reveal another. The third pillar also needs two rotations, but the light is rudely interrupted by two stubborn stones that sulk in the path. The first stone comes down easily enough: step on the right platform, and it falls. The second is trickier. A levitator utility is needed to reach a thorn-choked platform; burn the thorns away, and the stone can finally be pulled down, allowing the fourth pillar to shine.
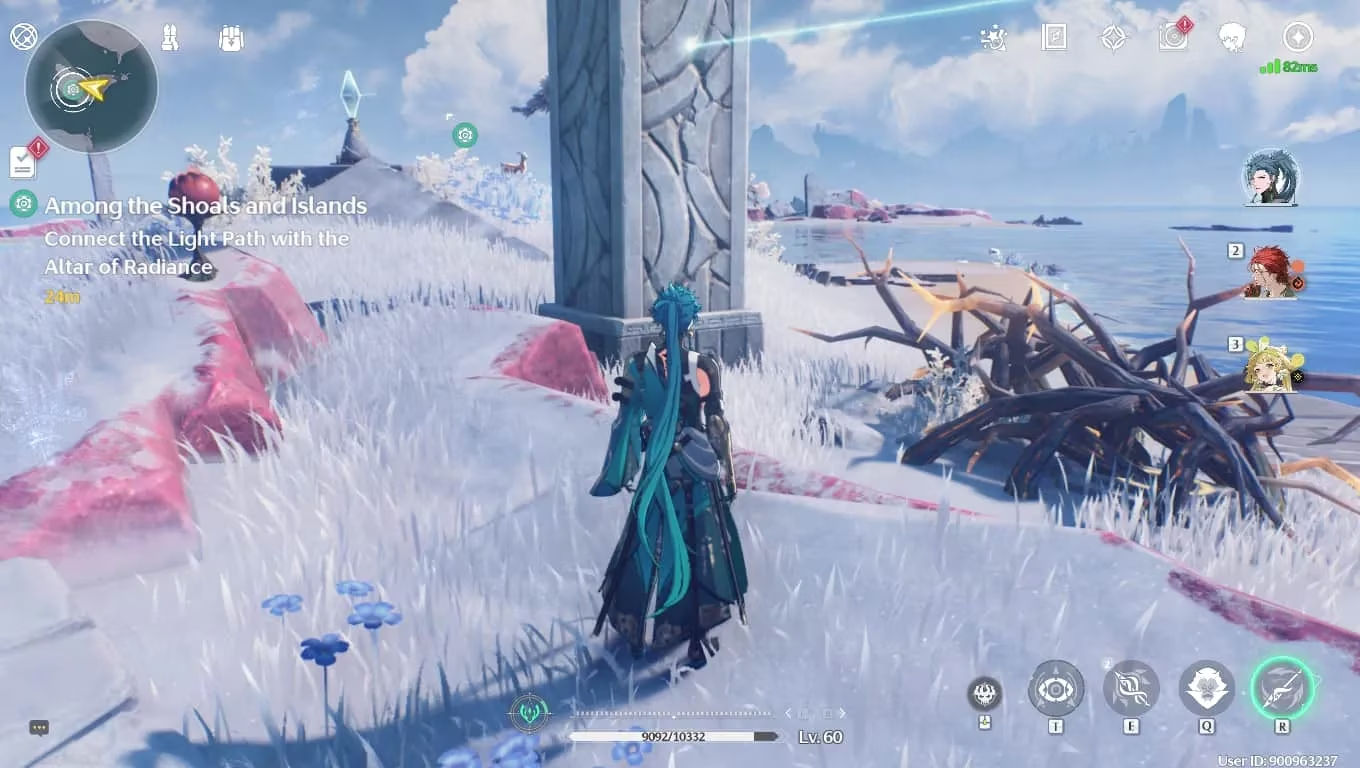
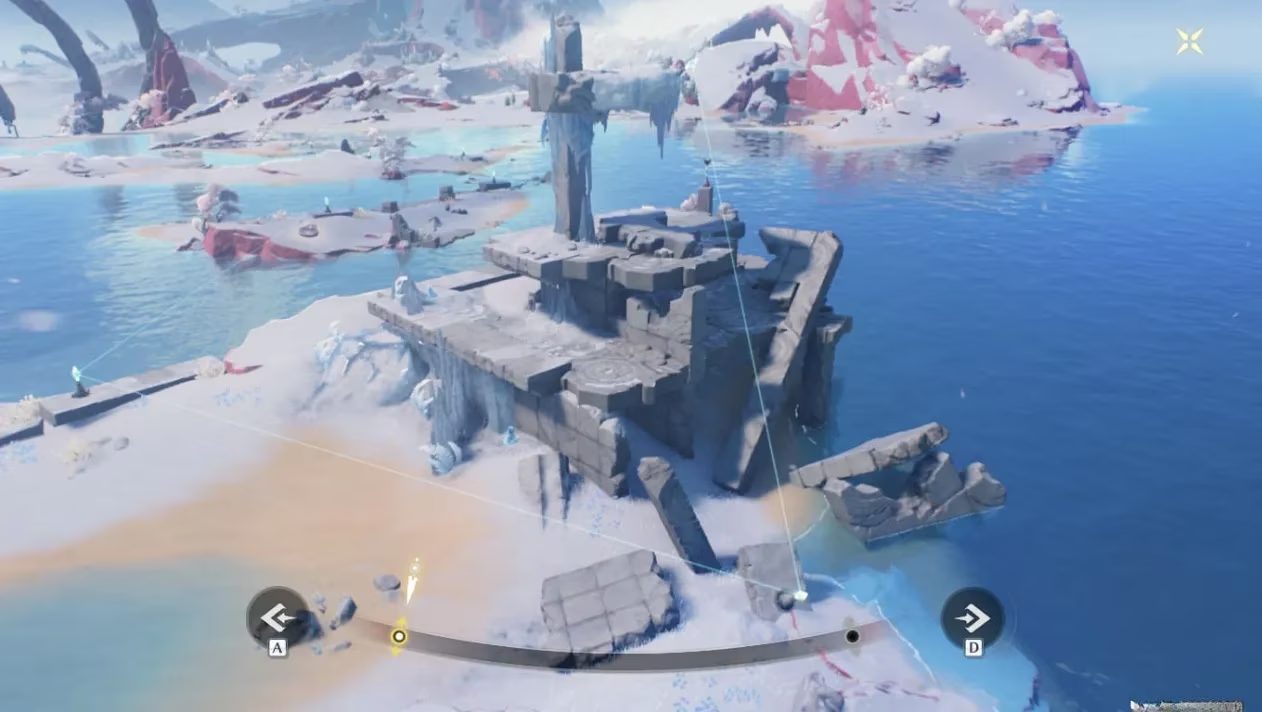
Two more rotations, and a nearby Leaping Device launches the wanderer onto the fifth pillar. Then comes the ruined building—a crumbling skeleton of stone and memory. Climb to its top, where a lone light pillar waits. Turn it toward the Altar of Radiance, and the stage is set. But here's the twist: jump down first, and only then use the Chronosorter on the ground to rewind time. Trust me on this—rewinding before climbing turns the ruins into a slippery nightmare, and nobody wants that. The Chronosorter hums with ancient power, breaking down a stone wall and granting uninterrupted light to the final pillar atop the building. The Loong's Pearl begins to form.

Finally, climb back up, reach the platform adorned with black roses, and stand on the yellow-lit mark. Align the Pearl with Mt. Firmament's peak and guide it into the Dragon's mouth. The ritual completes, and the quest settles into memory like a well-earned victory. It's no joke—this sequence demands order and patience, but the view from the top makes every rotation worth it.
For quick reference, here's the step-by-step breakdown:
| Step | Action |
|---|---|
| 1 | Light the Altar of Radiance on the southern island and rotate once |
| 2 | Follow the beam, rotate the next pillar twice |
| 3 | Rotate the third pillar twice; pull down the first stone via the right platform |
| 4 | Use the levitator, burn thorns, and pull down the second stone to light the fourth pillar |
| 5 | Rotate twice, then use the Leaping Device to reach the fifth pillar |
| 6 | Climb the ruined building and turn the top pillar toward the Altar |
| 7 | Jump down, use the Chronosorter to rewind time and clear the wall |
| 8 | Climb back up, stand on the yellow mark, and align the Pearl with the Dragon's mouth |
So, if the light beams seem to dance out of reach and the stones refuse to budge, remember: every puzzle has a rhythm. The islands may be shoals, but with a little patience, the wanderer turns confusion into a story worth telling. 🌊🐉",
"language": "en
Comments